Sys2kCloud Help
Click Here for Mobile Friendly Video
Installation
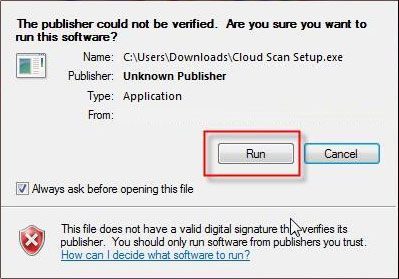
Download Cloud Scan Setup
Click Run
Read and Accept the Cloud Scan/Storage License Agreement
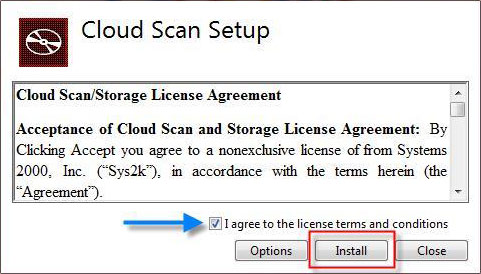
Click
Install
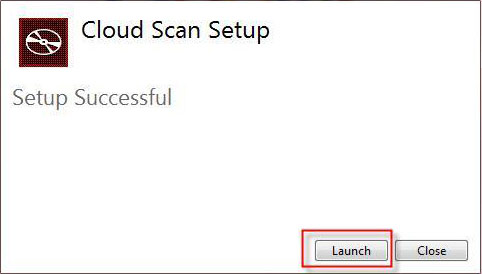
Once the setup is complete click
Launch
Setup your Cloud Scanner account including Username and Password
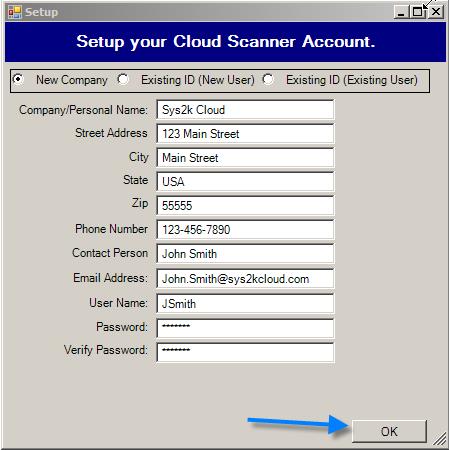
Click
OK
Your Username and Password will pre-populate on the Login screen
Click
Login
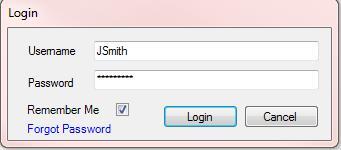
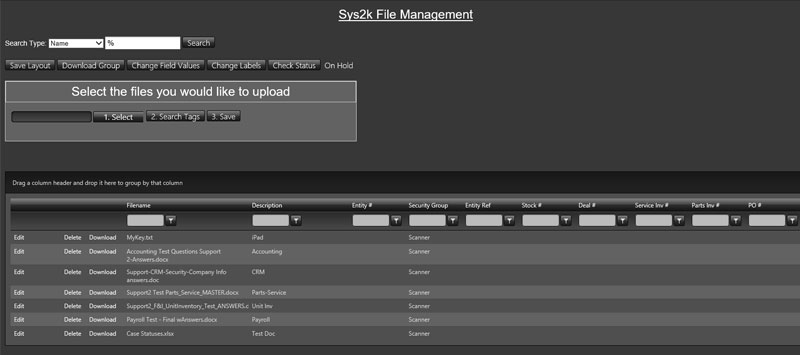
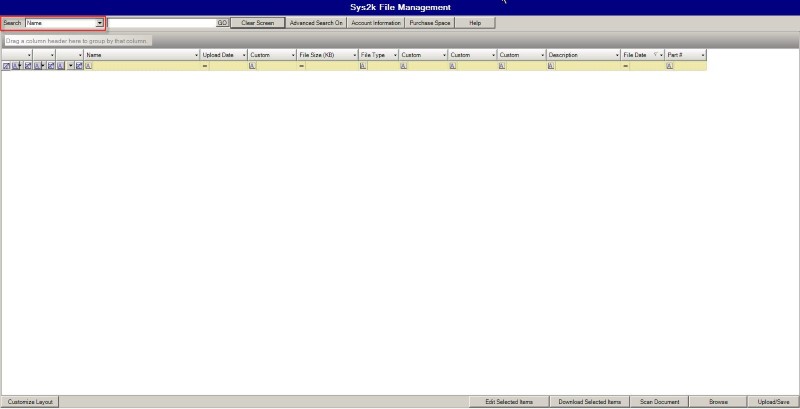
This will open the Sys2k File Management screen. Now you are able to start uploading documents to the cloud
Uploading Files
Our web interface offers an easy mobile solution that can be accessed with a browser from anywhere.
Browse Method:
Click to Enlarge Image
Click
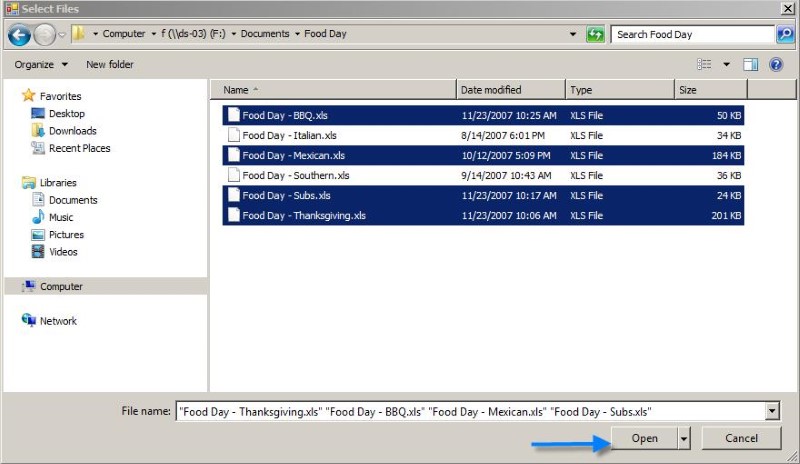
Browse
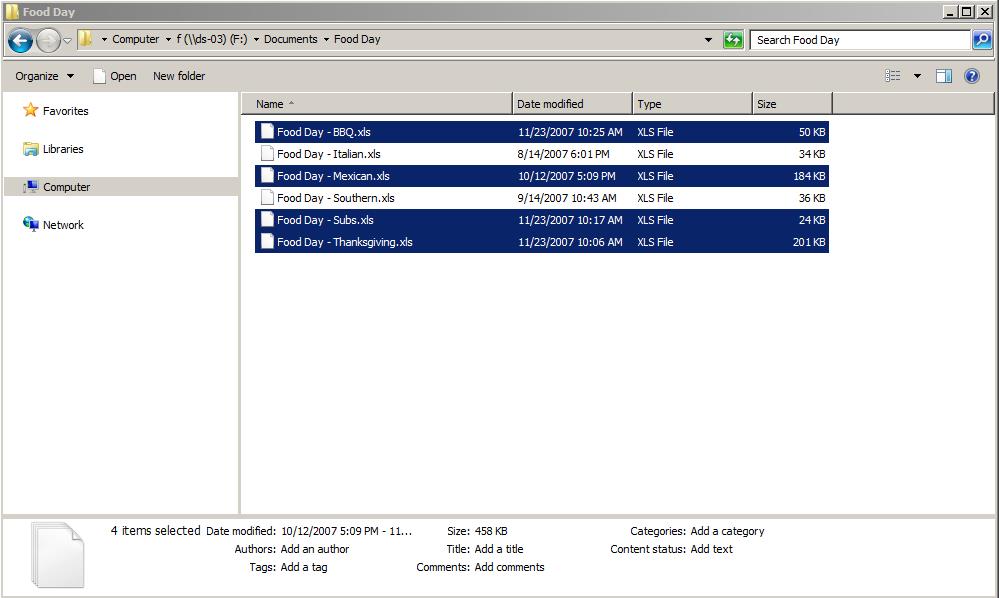
Browse to the file location on your computer and select the files you wish to upload. Use the Ctrl key to select multiple files
Click
Open
Next, you’ll get a Set Values screen that allows you to “Tag” your files before you upload them to the cloud. Tagging files makes it easier to group and search for them once they are on the cloud storage.
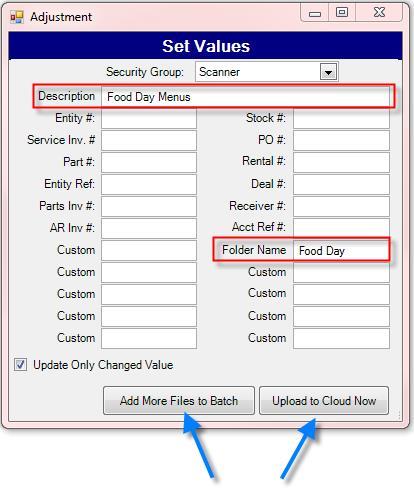
Click Add More Files to Batch to add the selected files to the file management grid
Clicking Upload to Cloud Now will upload the selected files directly to the cloud
Click to Enlarge Image
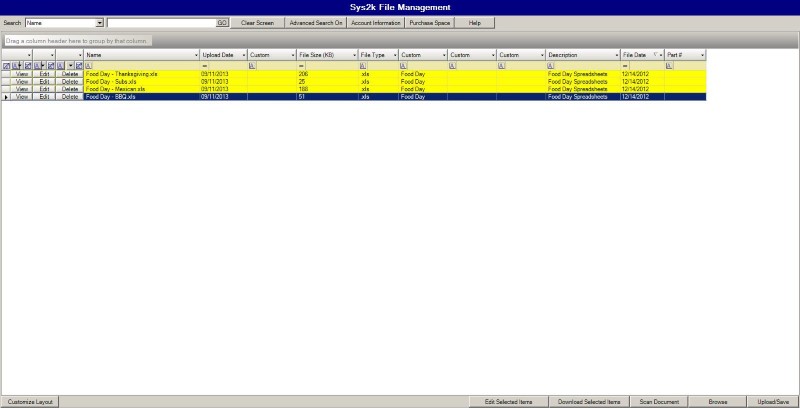
*Files highlighted in Yellow have not been uploaded to the cloud. They have only been loaded into the file management grid.
If you have an external device such as a scanner connected to your computer you can also scan files and upload them you’re your cloud storage.
Click to Enlarge Image
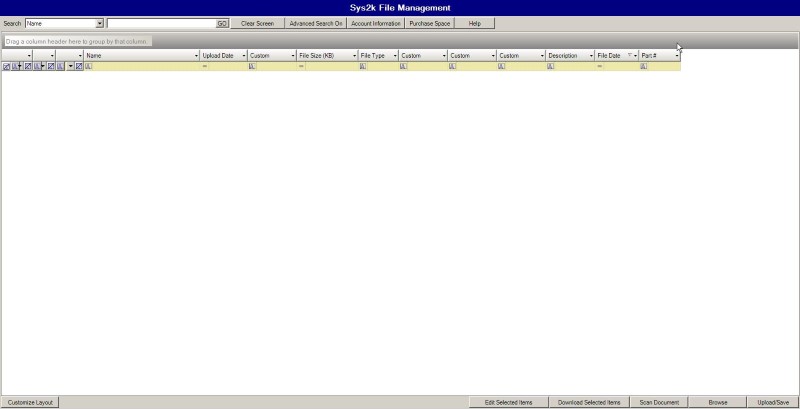
*You'll notice the files do not show in the file management grid when using this option, but they are on the cloud.
Scan Method:
If you have a scanner connected to your computer you can scan files and upload them to the file management grid

Click to Enlarge Image
Click
Scan Document
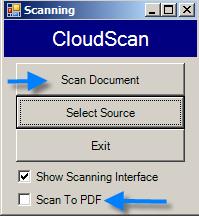
The CloudScan window will open
Click Scan Document to start the scan. The Show Scanning Interface will be selected by default and allows you to use the scanner interface when scanning documents
You can select the Scan To PDF option to scan the documents to a PDF file
*Note: Multi-page scans will always save as a PDF
Drag & Drop Method:
You can also drag & drop files into your Sys2k File Management window.
Locate and select the files you want to upload. Use the Ctrl key to select multiple files
Left-click and hold your mouse to drag the files into the file management grid
Release the left-click to drop the files into the file management grid
Next, you’ll get a Set Values screen that allows you to “Tag” your files before you upload them to the cloud. Tagging files makes it easier to group and search for them once they are on the cloud storage.
Click Add More Files to Batch to add the selected files to the file management grid
Clicking Upload to Cloud Now will upload the selected files directly to the cloud
Click to Enlarge Image
*Files highlighted in Yellow have not been uploaded to the cloud. They have only been loaded into the file management grid.
If you have an external device such as a scanner connected to your computer you can also scan files and upload them you’re your cloud storage.
Click to Enlarge Image
*You'll notice the files do not show in the file management grid when using this option, but they are on the cloud.
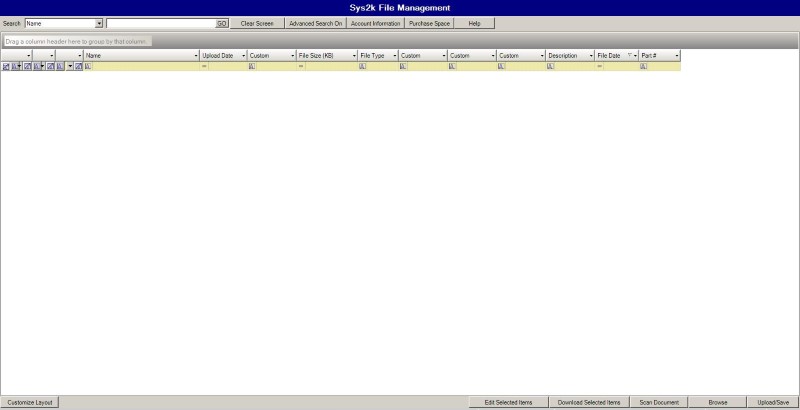
Searching For Files
Select Search criteria
Click to Enlarge Image
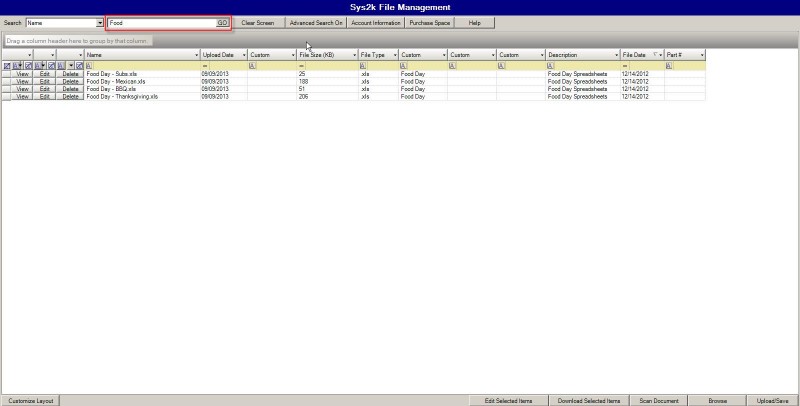
Enter a keyword in the search filter.
Click to Enlarge Image
Click
GO
Search results will appear in the file management grid
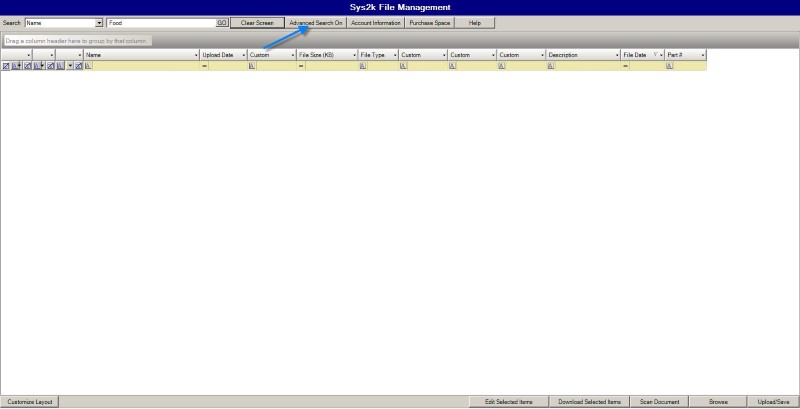
Advanced Search
Click Advanced Search On to enable
Enter the necessary search criteria in the filters
Click Search
Click to Enlarge Image
Click
Clear to clear the search filters and perform another search
The advanced search allows you to narrow your search to files that meet specific criteria. This can be helpful when looking to modify files in groups.
Viewing Files
Click the View button on the file you would like to view
Click to Enlarge Image
Editing Tags
Click the Edit button on the file you would like to edit

Click to Enlarge Image
This will open the Adjustment menu where you can make your tag adjustments.
Clicking Upload to Cloud Now will upload the selected files directly to the cloud
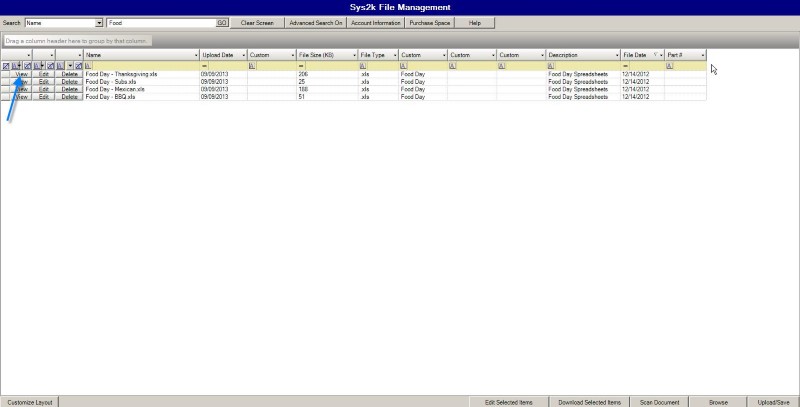
Deleting a File
Click the Delete button on the file you would like to delete.
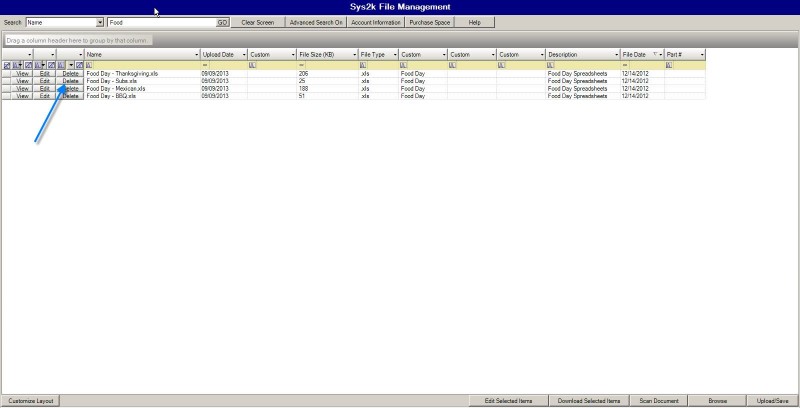
Click to Enlarge Image
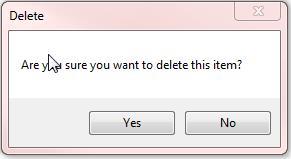
Click
Yes to confirm the deletion.
Clearing the Screen
Click Clear Screen. This will clear the file management grid
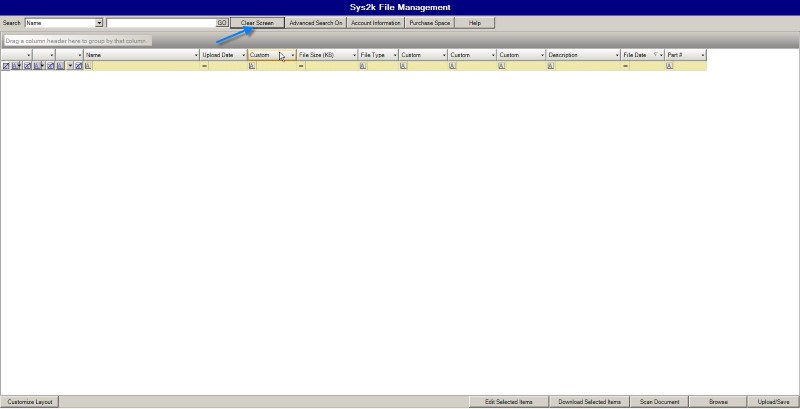
Click to Enlarge Image
Customizing the Screen Layout
Click Customize Layout
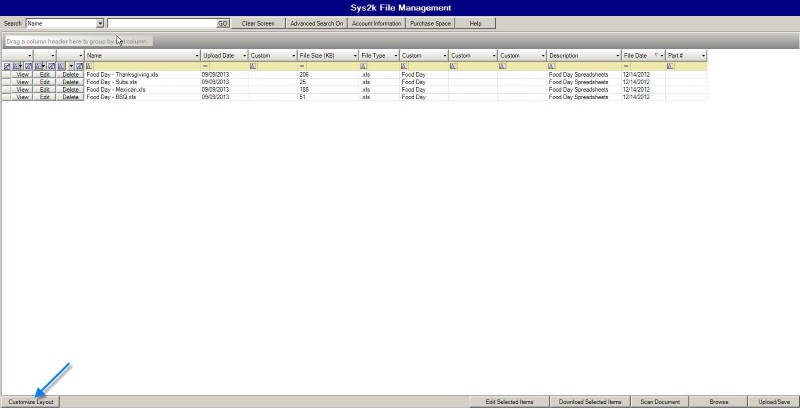
Click to Enlarge Image
This opens the Field Chooser window.
Select the fields you would like to display in your file management grid
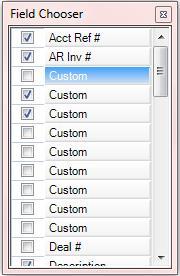
Click the X to close the Field Chooser. Your selections will be added to the search results grid.
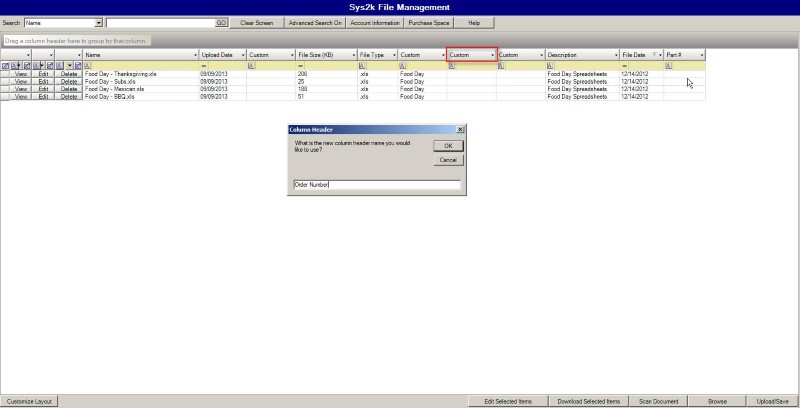
Renaming Column Headers
To re-name a column header right-click on the column header and select Rename Header
Enter the new column header name and click OK.
Click to Enlarge Image

Click to Enlarge Image
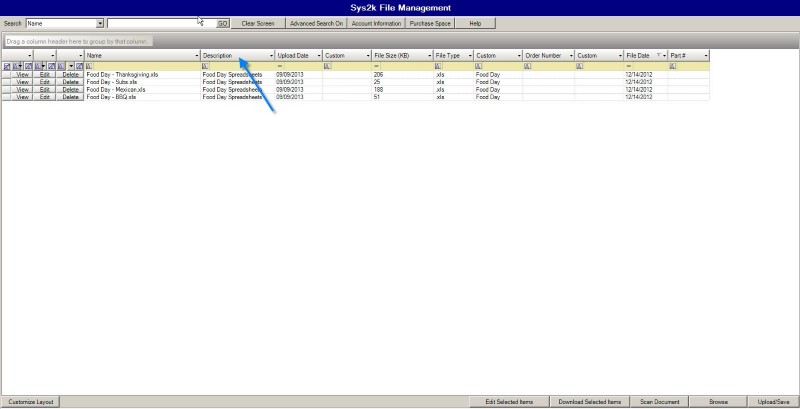
Changing Column Order
To modify the order of the fields in the grid, click and hold the column header for the field you want to move. Drag & drop the column in its new position
In this example I moved the Description column in between File Date and File Type.
Click to Enlarge Image
Sorting Columns
Click on the column header. Once to sort in ascending order, twice to sort in descending order
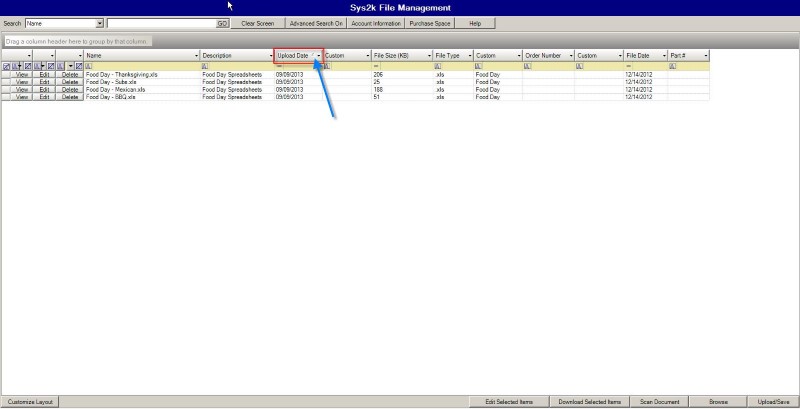
Click to Enlarge Image
Filtering Search Results Grid
Enter a keyword in the column filter bar located directly below the column header
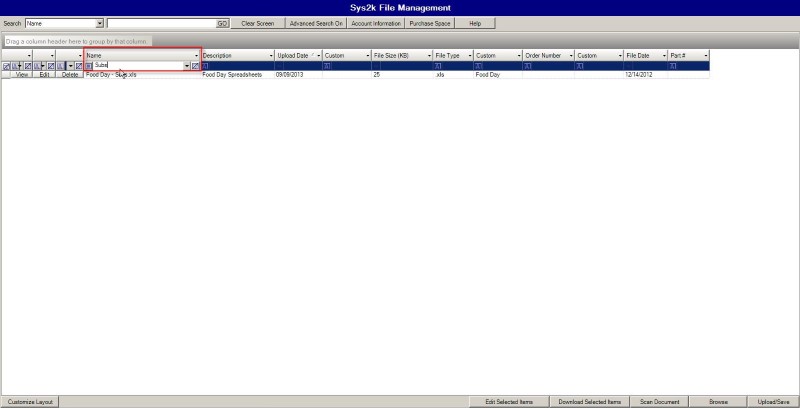
Click to Enlarge Image
Downloading Files to Your Computer
Select the files you wish to download using the Ctrl key to select multiple files
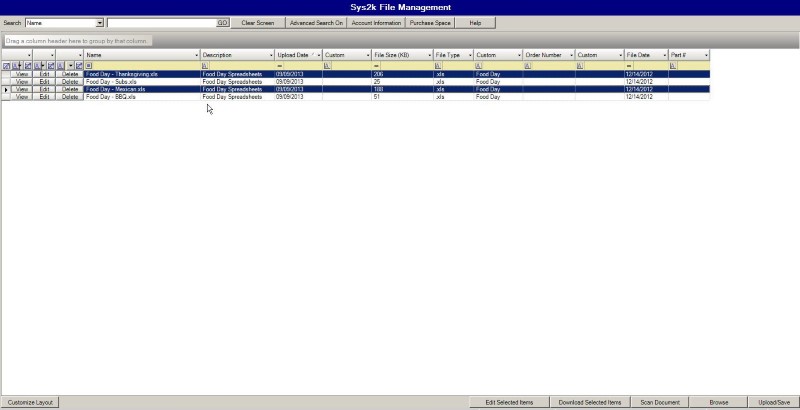
Click to Enlarge Image
Click
Download Selected Items
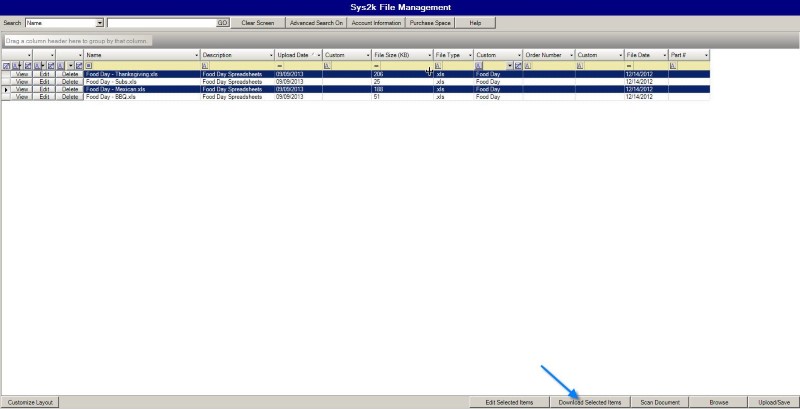
Click to Enlarge Image
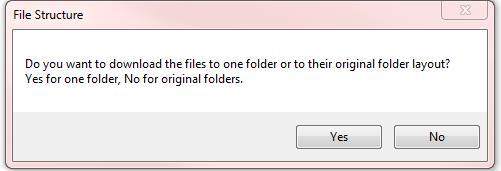
On the File Structure screen select Yes to download files to one folder. This will allow you to browse to a folder on your computer or create a new folder.
Select No to download files to their original folders which will download the files to the same folder(s) they were uploaded from
Select the folder or click
Make New Folder to create a new file location
Click
OK

After downloading the system will open that folder for you to view
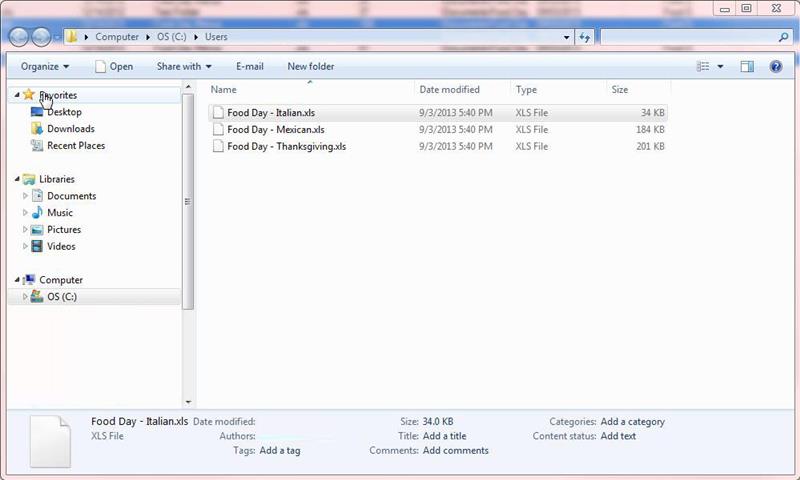
Click to Enlarge Image
Downloading allows you to take copy items from your cloud storage to other devices
Checking Available Storage Space
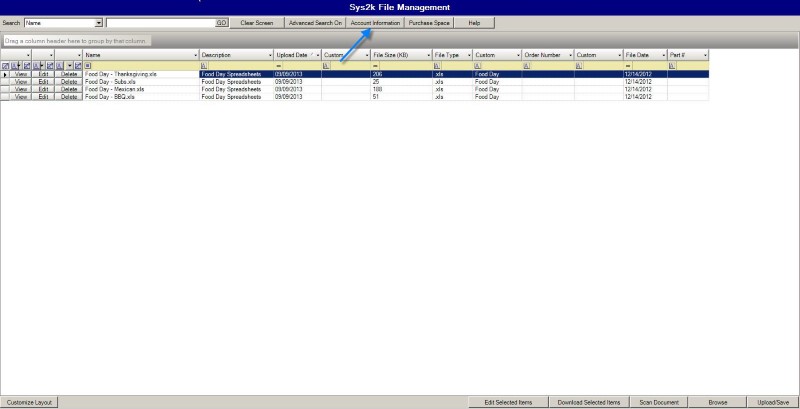
Click to Enlarge Image
Click
Account Information
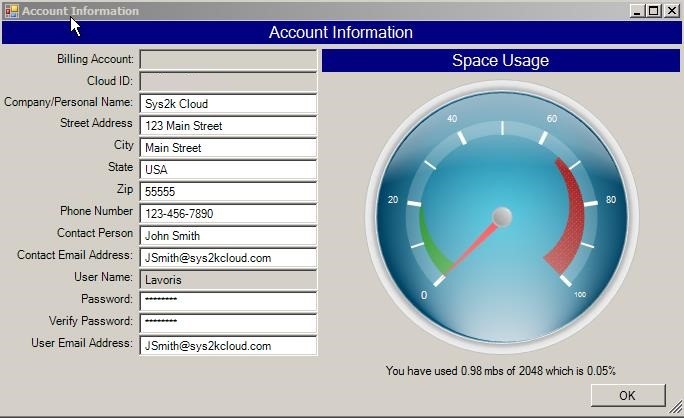
This gives you a graphic of how much space you’ve used from your available space. You can also update your account information from screen (contact information, password, etc.)
Purchasing Additional Space
Click Purchase Space
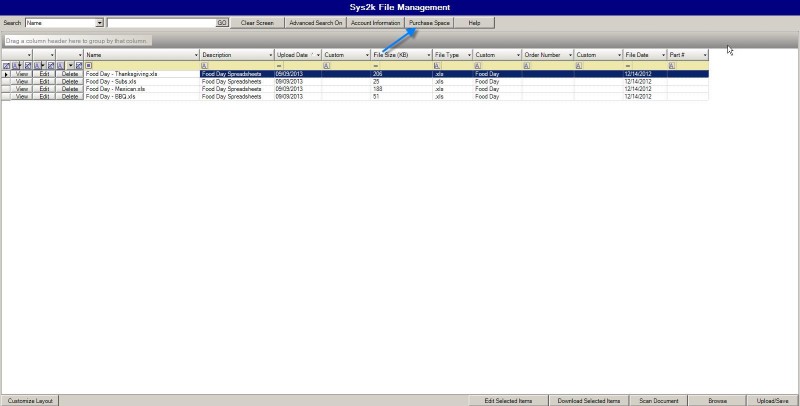
Click to Enlarge Image